

Technical
Dec 24, 2025
How to Master an Electronic Track for Release (Step by Step)
A practical, step-by-step guide to mastering electronic music for release, covering what mastering does, what it can’t fix, and how to approach it without guesswork
What Mastering Actually Is
This guide is for independent electronic music producers who have finished a track and are preparing it for release.
It assumes:
The arrangement and sound design are done
The mix is “finished enough”
The goal is a release-ready master for streaming platforms
This is not a mixing tutorial, and it will not cover creative production decisions. The focus is the mastering stage: what it does, what it cannot do, and how to approach it practically.
TLDR: Mastering is the final technical stage before release.
In practical terms, mastering aims to:
Ensure the track translates well across different playback systems
Control overall loudness and dynamics
Balance tonal energy so no frequency range dominates unintentionally
Prepare the audio to meet platform requirements
Mastering is not about changing the identity of the track. It is about refinement and consistency.
A good master should sound like the same track, just clearer, more controlled, and more reliable when played on different systems.
What Mastering Cannot Fix
This is critical to understand before you start.
Mastering cannot fix:
Poor balance between elements
Masking caused by arrangement issues
Clipping or distortion baked into the mix
Over-compressed mixes with no dynamic range
Weak low-end decisions or conflicting bass elements
If the mix has fundamental problems, mastering will either expose them or make them worse.
The goal of mastering is not rescue - it's pushing out the last 10% or so of the potential quality of your music.
What You Need Before Mastering
Before mastering any electronic track, you should have the following in place.
1. A clean export
No clipping on the master bus
Ideally 3-6 dB of headroom
Exported at full resolution (e.g. 24-bit or 32-bit float)
2. No brickwall limiter on the mix bus
If you used a limiter for monitoring, remove or bypass it before exporting.
The mastering stage needs dynamic range to work with.
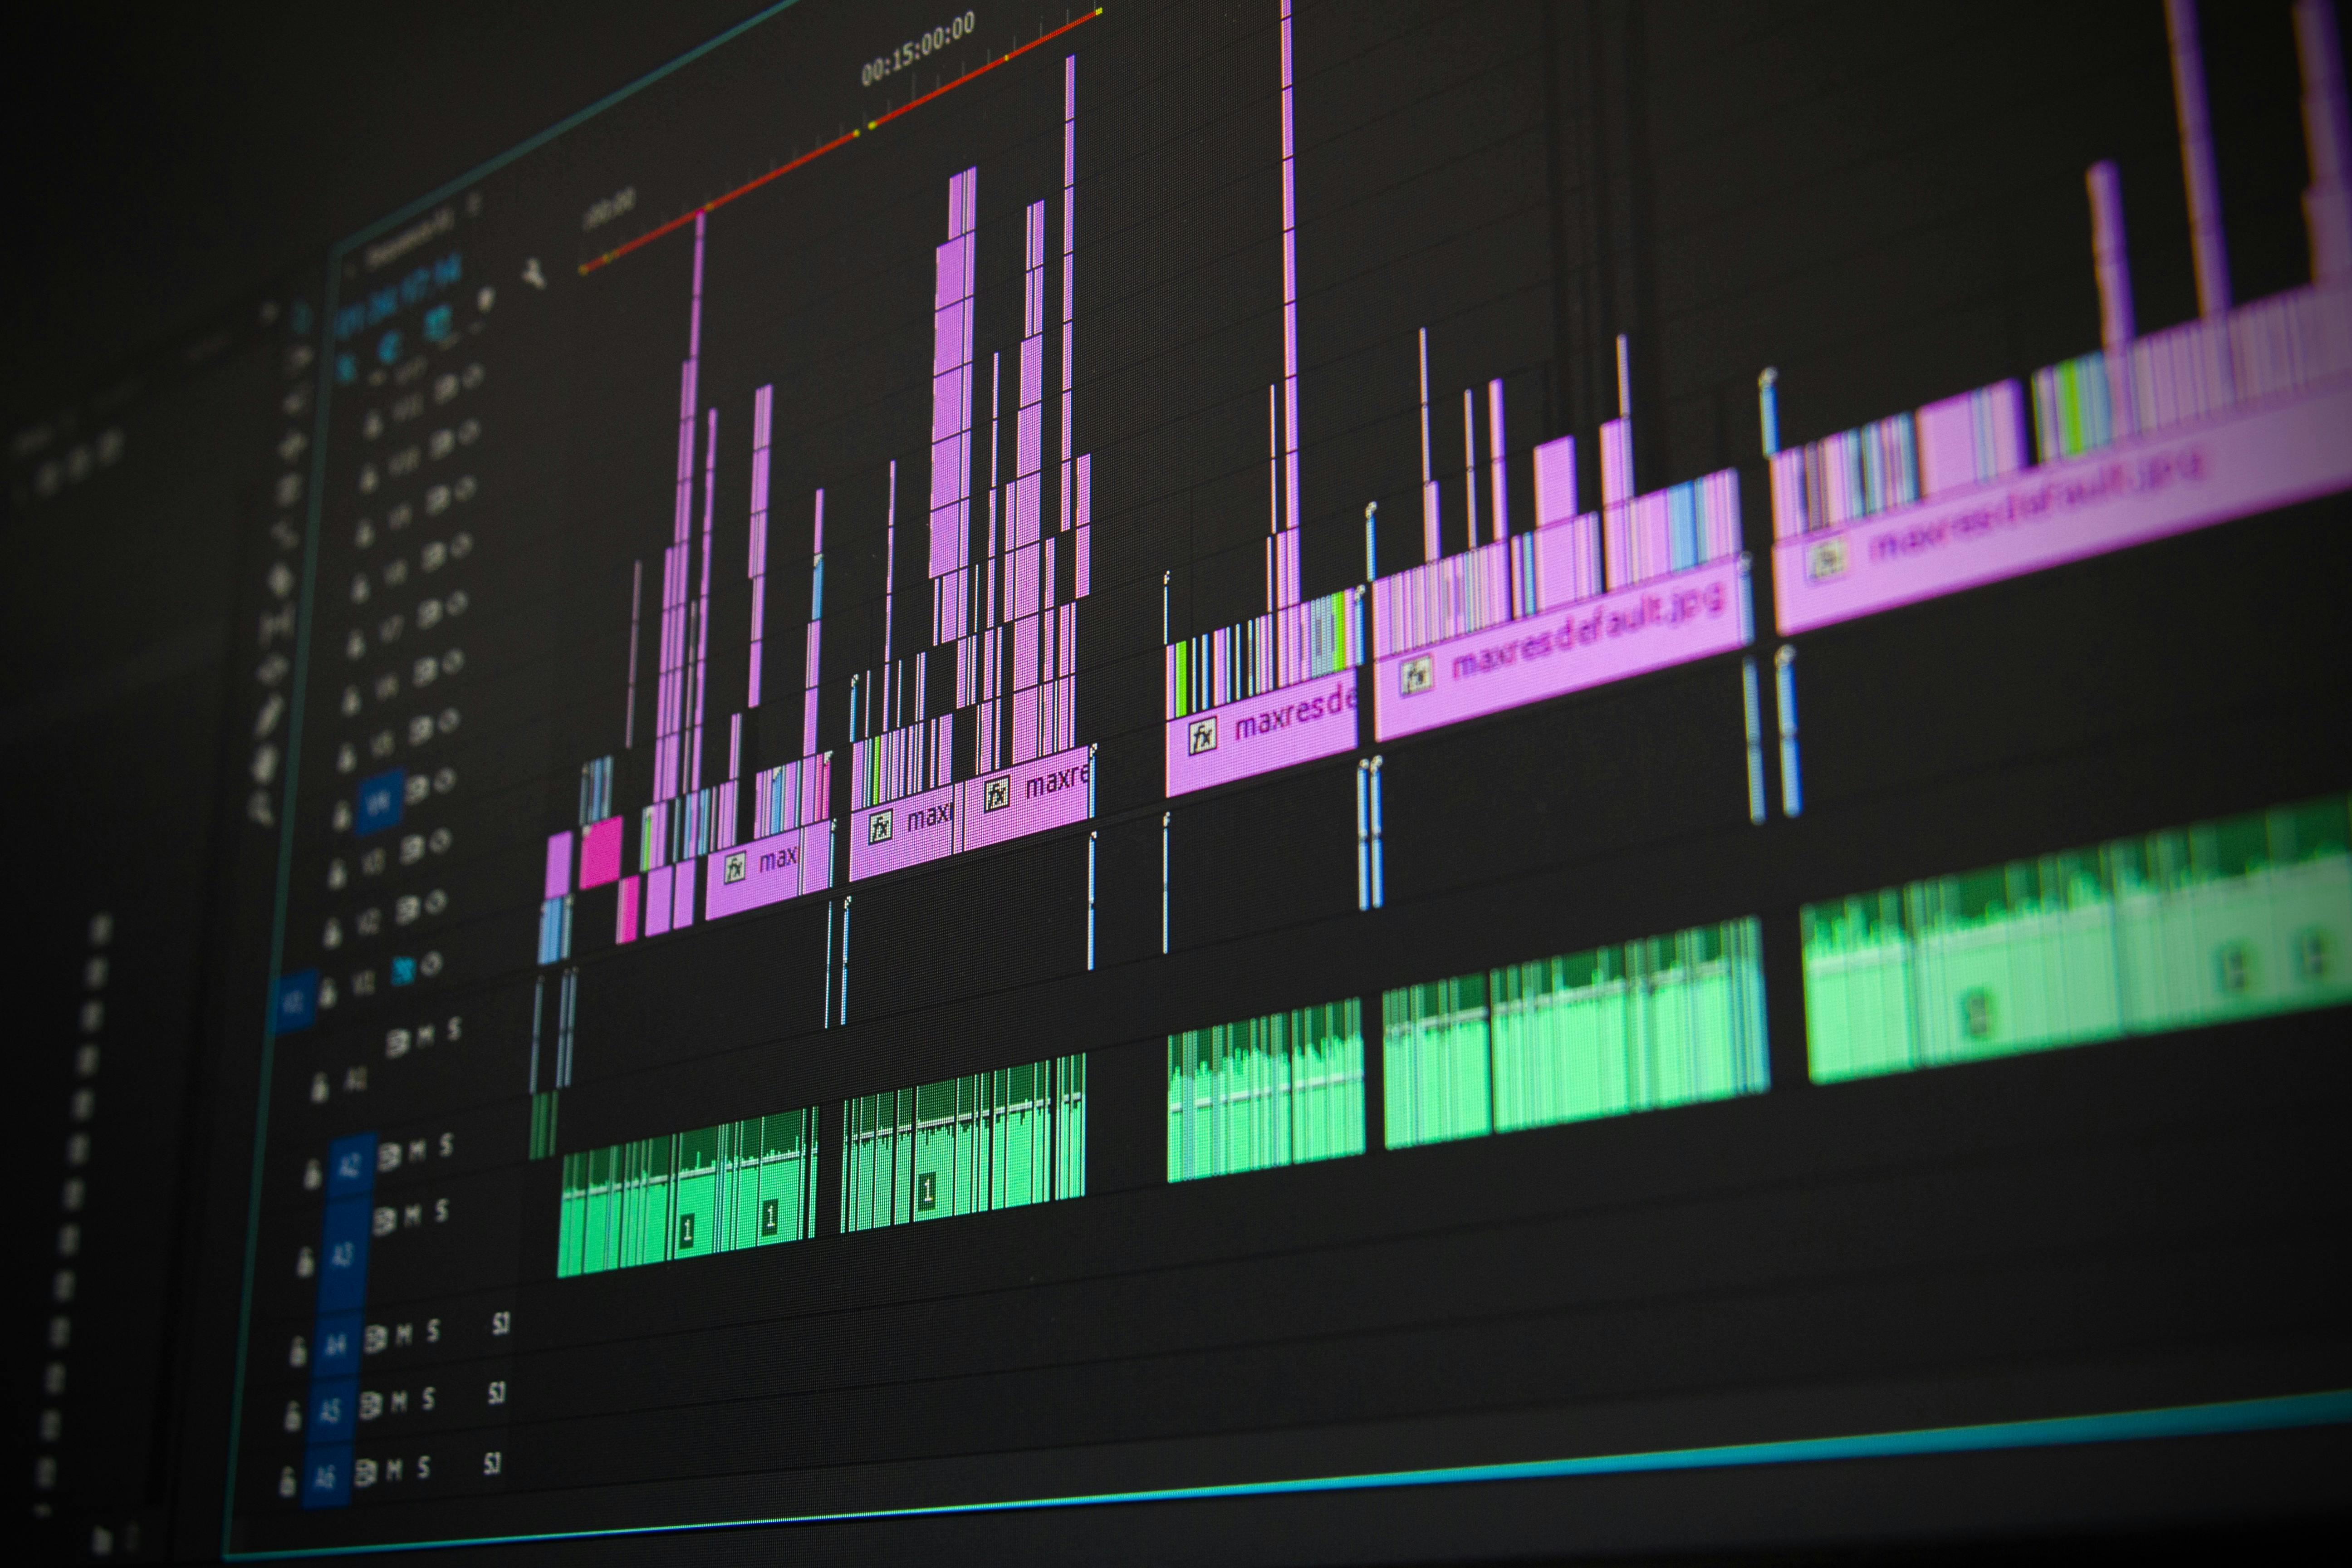
A Practical Mastering Workflow
There is no universal mastering chain, and no two tracks require identical treatment.
While the specific tools and settings will vary from song to song, the underlying reasoning behind the process remains broadly consistent.
Step 1: Analysis
Before any processing, the track is analysed for:
Overall loudness
Dynamic range
Tonal balance
Stereo distribution
This establishes what needs adjustment and what should be left alone.
Step 2: Tonal correction
Subtle EQ adjustments are used to:
Control excessive low-end energy
Reduce harshness or buildup
Improve balance between lows, mids, and highs
This is not creative EQ. Changes are typically small.
Step 3: Dynamic control
Compression or multiband compression is used to:
Smooth out uneven dynamics
Control frequency-specific peaks
Improve perceived consistency
The goal of dynamic control at the mastering stage is stability, not the removal of punch.
In some cases, transient shaping can be used to enhance what is already present, but it should be applied conservatively and only when the mix supports it.
Step 4: Stereo considerations
Stereo width may be adjusted to:
Low frequencies should remain centered. This is critical - if sub and low-end information is allowed to spread into the stereo field at the mastering stage, the track will translate poorly to mono playback and live environments, particularly club sound systems.
Improve clarity in the sides
Avoid phase issues
But overall, stereo shaping tends to be a more creative / genre dependent stage.
Step 5: Loudness targeting
A limiter is used to raise loudness to the desired level without introducing distortion or pumping.
This is where many masters fail:
Too much limiting leads to harshness
Too little leads to weak perceived level
The appropriate loudness balance depends on both genre and intended playback context.
While streaming platforms publish loudness targets (for example, -14 LUFS on Spotify), these platforms normalize playback levels. As a result, masters do not need to strictly hit a specific target to translate well in practice.
Step 6: Final checks
The master is checked:
At different playback levels
On different monitoring systems if possible
Against reference tracks
And with an obligatory car test. As a wise man once said, you need to hear how it sounds echoing off the street.
Once exported, this version should be ready for distribution.

Where AI Mastering Fits
AI mastering tools automate the workflow described above.
They are designed for situations where:
A producer does not have access to a mastering engineer
Budget is limited
Turnaround needs to be fast
Consistency across multiple tracks matters
AI mastering analyses the audio, applies corrective processing, and targets loudness automatically.
This works best when:
The mix is already reasonably well balanced
The genre fits within known electronic production patterns
The goal is a clean, release-ready master rather than creative reinterpretation
AI mastering does not replace human taste. It replaces the mechanical and technical steps when "taste" decisions are minimal.
When a Human Mastering Engineer Is the Better Choice
A human mastering engineer is preferable when:
The project has high commercial or artistic stakes (if you're signed to a major, they'll probably take care of the engineering anyway)
The mix has complex issues that need judgment
Genre aesthetics are non-traditional (e.g. an EDM track that isn't supposed to be bass heavy, but instead sound more like an high-end heavy and bright country master)
You want iterative feedback and communication
AI tools cannot ask questions or negotiate intent. Neuromix lets you nudge it in a specific direction by prompting it, but you won't have the same back and forth as you might with a human engineer.
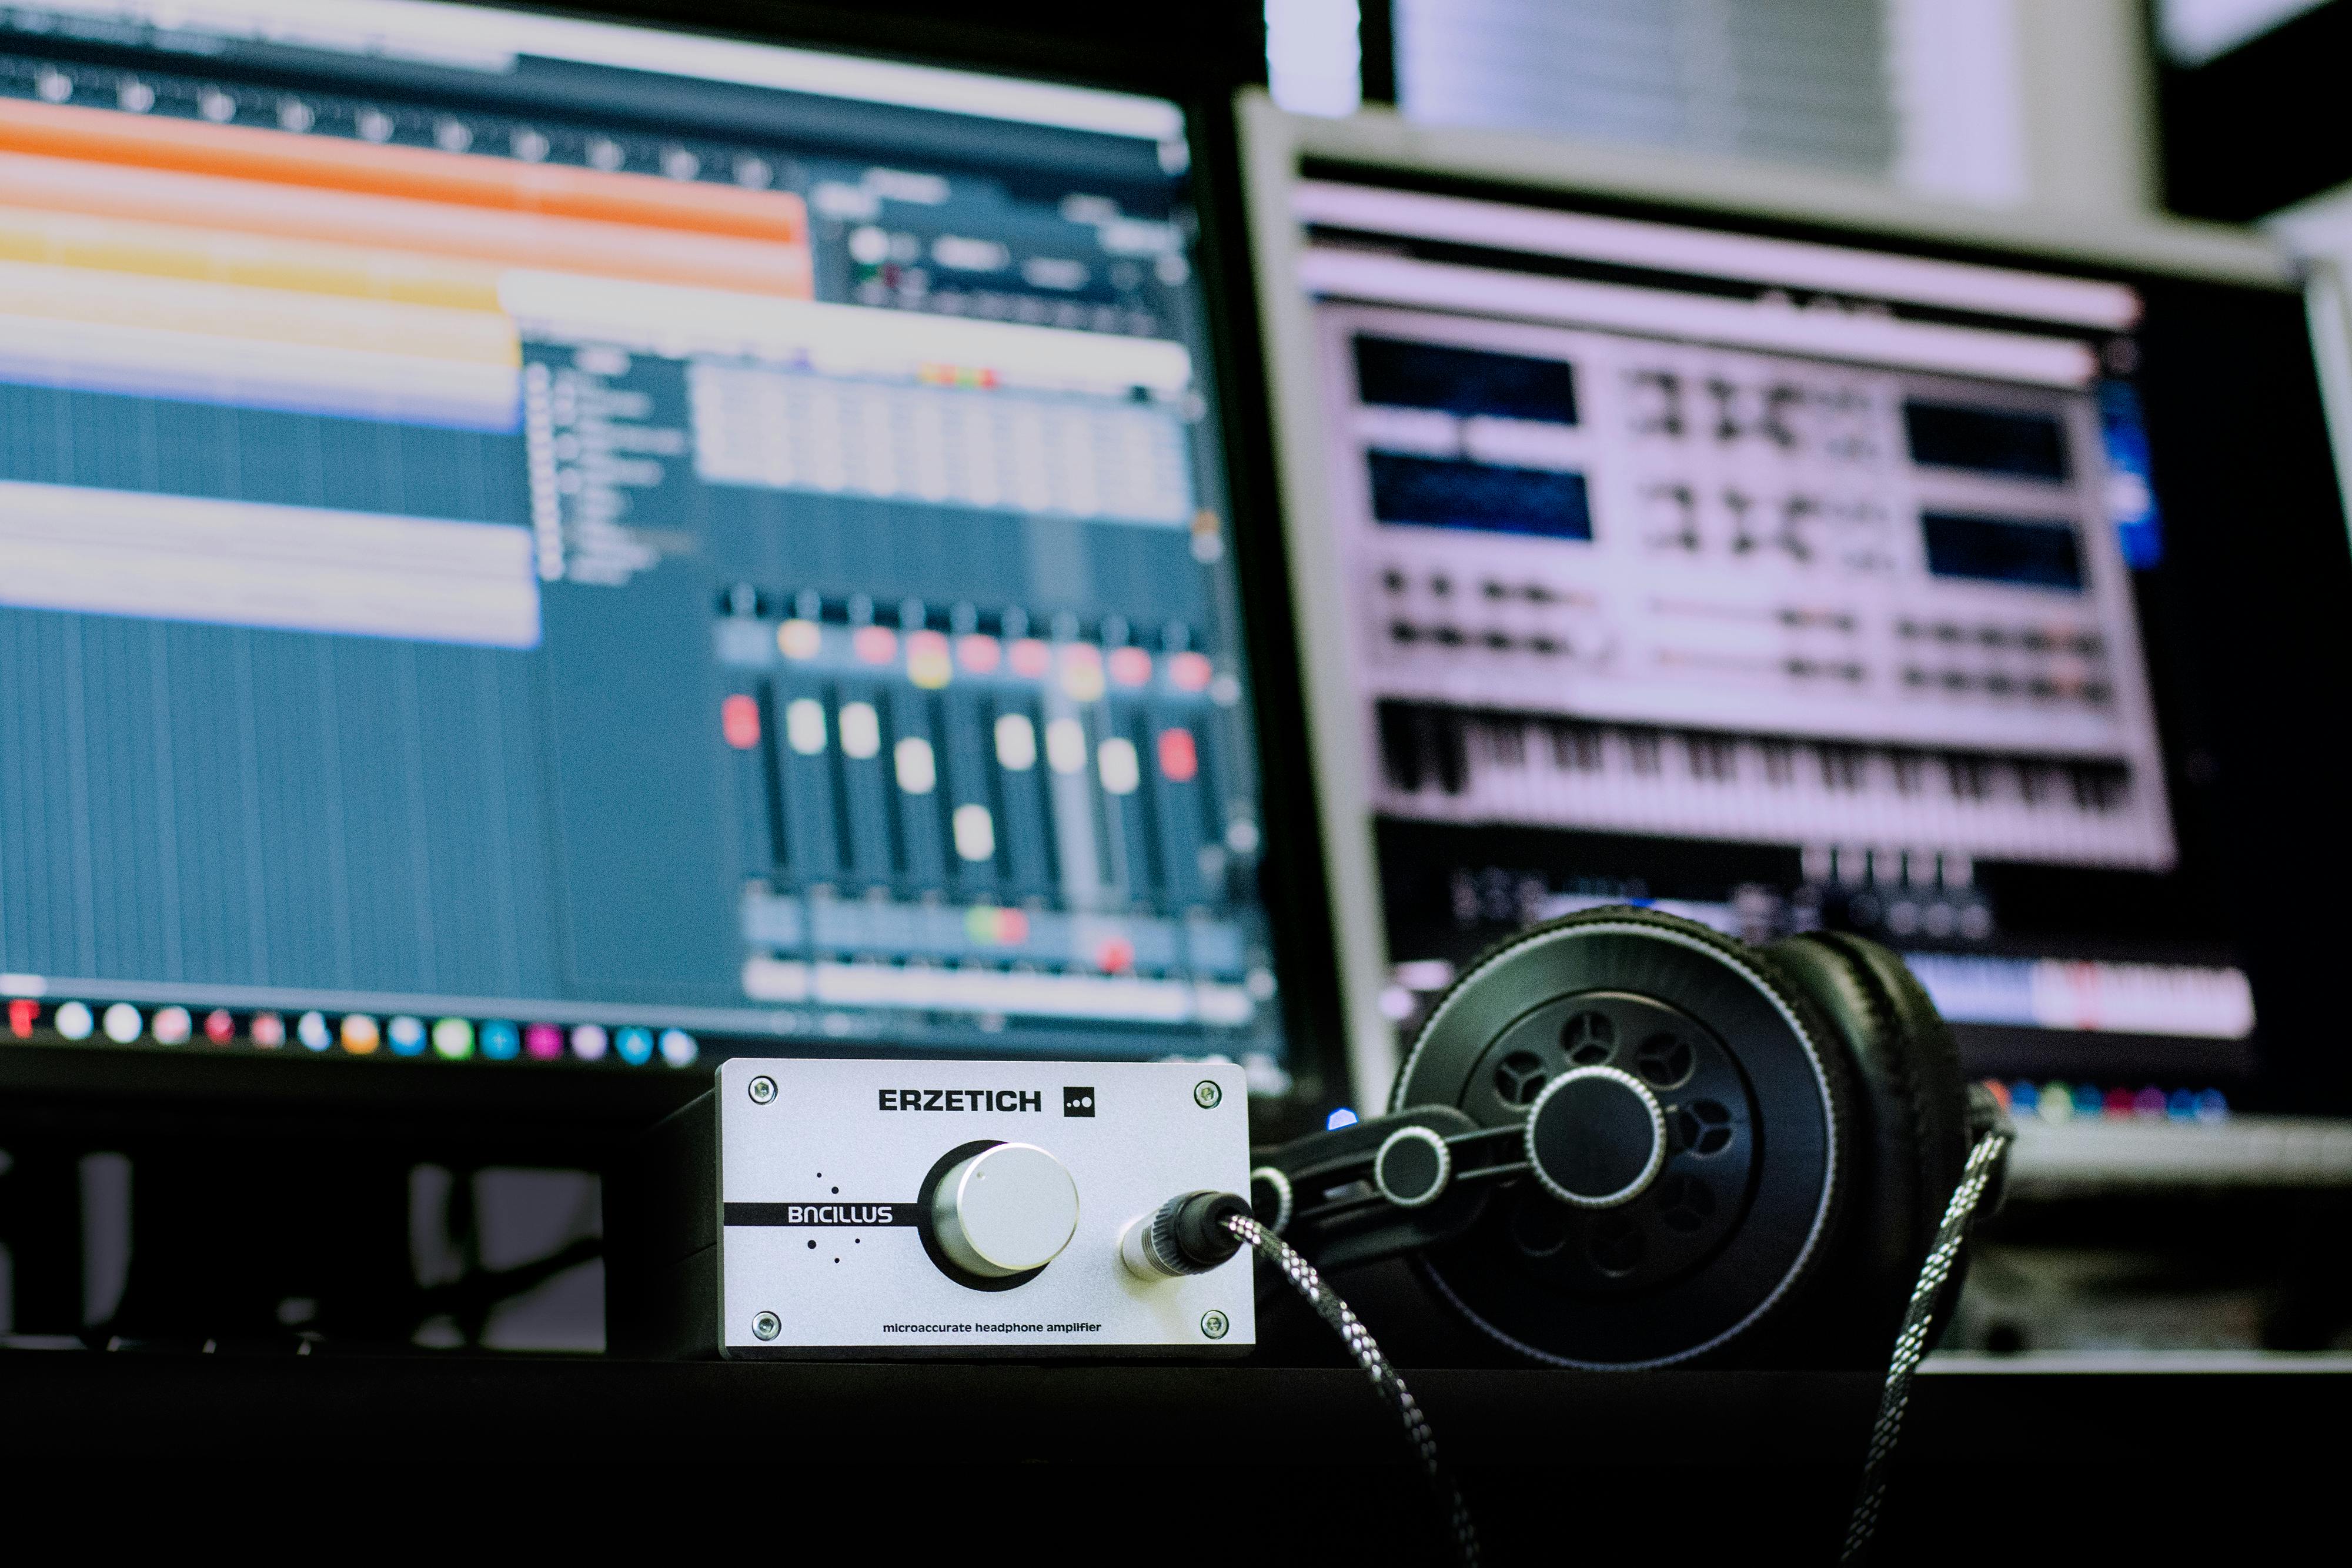
Using Neuromix in the Mastering Workflow
Neuromix is designed for producers who:
Have finished a track
Need a release-ready master
Do not want to or feel confident enough manually building and tweaking a mastering chain
It fits at the final step of the release process.
Neuromix:
Analyzes tonal balance, dynamics, and loudness
Applies mastering decisions tailored to the track, without relying on presets
Produces a master suitable for streaming platforms
It is not intended to fix broken mixes or replace creative decisions earlier in the process.
Final Notes
If you are preparing an electronic track for release, mastering is the last technical step before distribution.
Whether you choose a human engineer or an AI mastering tool depends on:
Budget
Timeline
Project importance
The most important factor is not the tool, but the state of the mix going into mastering.
A good master starts with a good mix.
Blog